How to Create a Widget
A widget is the terms and conditions checkbox your customers see. You can create more than one, for example one for product pages and one for the cart.
- 1
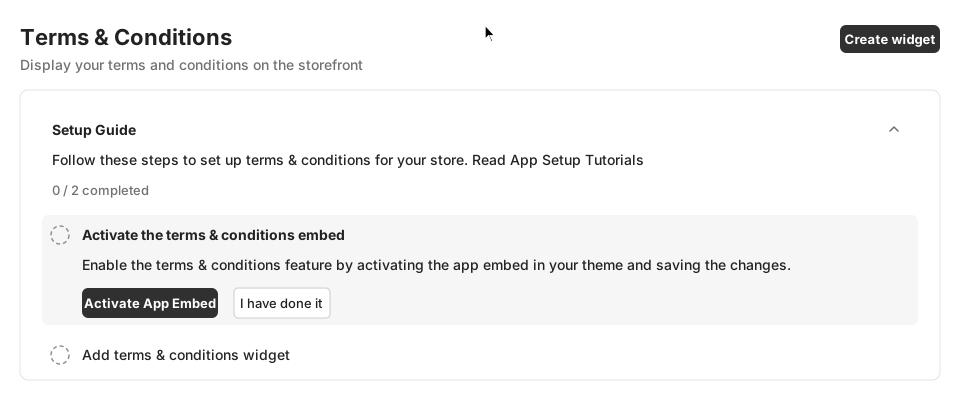
Click Create widget
On the Home page of the app, click Create widget. You can also use Create terms & conditions widget in the Setup Guide.
- 2
Choose a widget type
Pick where the checkbox should appear:
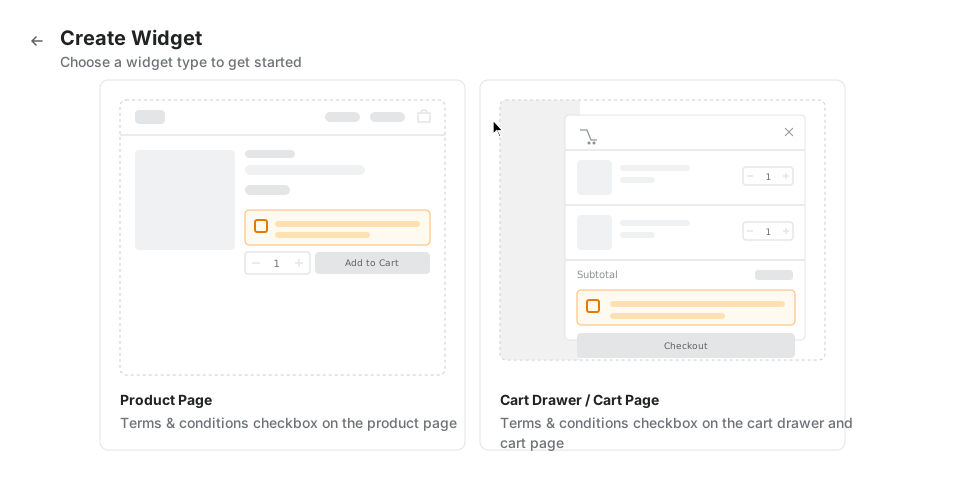
- Product Page: the checkbox appears on product pages, above the Add to cart and Buy it now buttons.
- Cart Drawer / Cart Page: the checkbox appears above the Checkout button in the cart drawer, on the cart page and in the cart notification.
- 3
Set the behavior in the General tab
The General tab has two main switches:
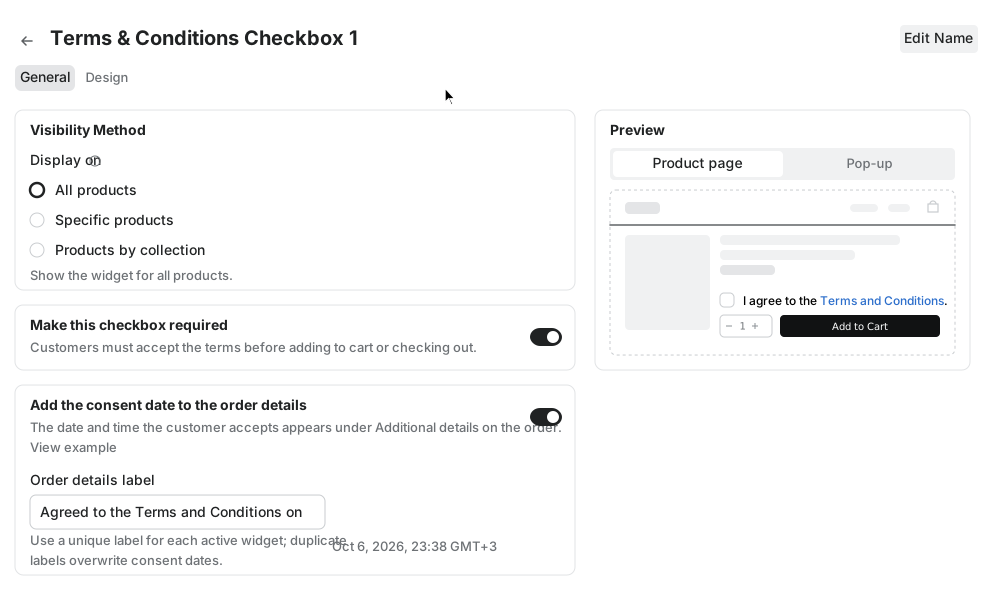
- Make this checkbox required: customers must tick the checkbox before they can add to cart (product page) or check out (cart).
- Add the consent date to the order details: the date and time of the agreement is saved with the order, under the label you choose in Order details label.
- 4
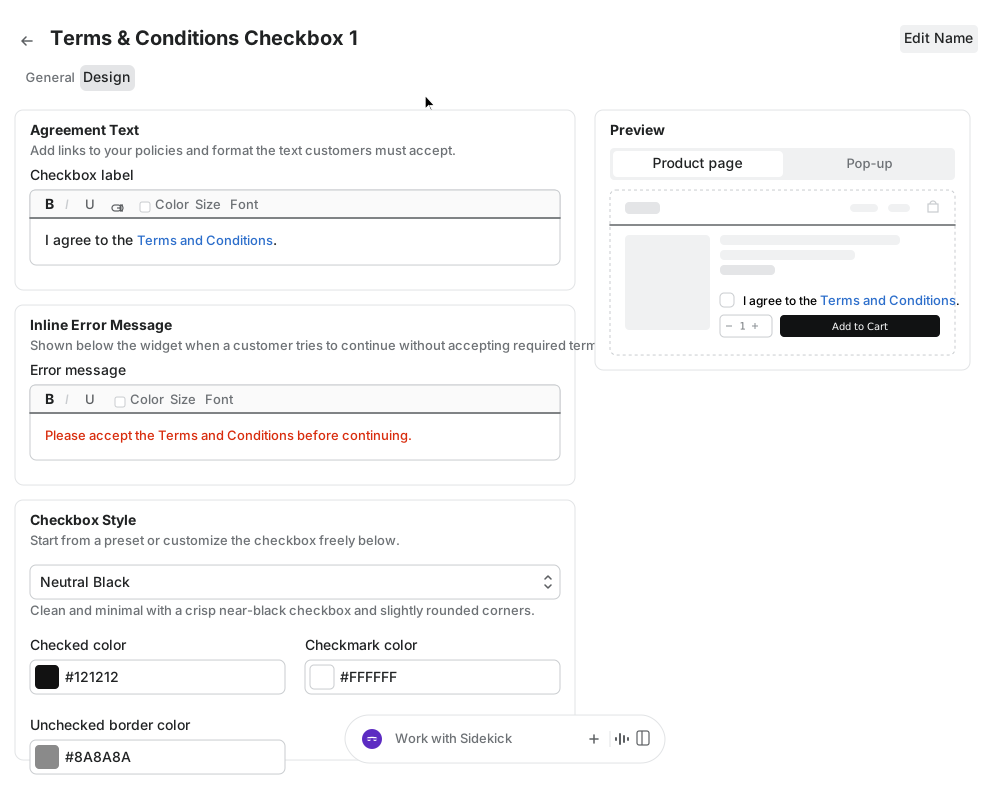
Style it in the Design tab
In the Design tab, edit the agreement text (you can add a link to your terms), the error message shown when the box is not ticked, the checkbox colors and the popup. The preview shows your changes.
- 5
Save and enable the widget
Click Save in the bar at the top. Then check that the status switch next to the widget in the Home page list is on, so it shows on your storefront.
- 6
Test it on your store
Open a product page or your cart and try to add the product or check out without ticking the checkbox. The action is blocked until the customer agrees. The agreement date appears on the order in your Shopify admin.
If the checkbox does not show up
Make sure the app embed is active and saved (see the previous step), the widget status is on, and the widget type matches the page you are testing. Reload the storefront page after saving.
Need help?
If something does not look right, contact us and we will help you set it up.